Here it is, completed, with the doors closed. I had it in the back of my mind that there might have been a way that the remotes would have worked due to the fact I had a bigger gap in the drawer fronts than I wanted, but no such luck. The doors will have to be open. As you can see, the sapwood is all but gone on the drawer fronts. The camera also does a poor job of showing how alive the rays are on the front drawer.
This is a side and front view showing the ventilation that the components will get. The back is all open, as are the sides, so I'm not really worried about anything overheating. In fact, the front will be open as well whenever it would even think about getting hot.
There are a couple of "better to be lucky than be good" things I should point out. When the drawer fronts are open, the dvd player tray misses the drawer opening by about 1/4". A little too close for me, but not much I can do about that. I also knew that I was going to be tight across the front with the dish, center channel speaker, and stereo. I didn't have much room to spare, maybe an inch or two. Front view.
 Side view.
There are a couple of "better to be lucky than be good" things I should point out. When the drawer fronts are open, the dvd player tray misses the drawer opening by about 1/4". A little too close for me, but not much I can do about that. I also knew that I was going to be tight across the front with the dish, center channel speaker, and stereo. I didn't have much room to spare, maybe an inch or two.
 Front view.
 Side view.
Here is a picture of the entertainment center all waxed up and loaded up.
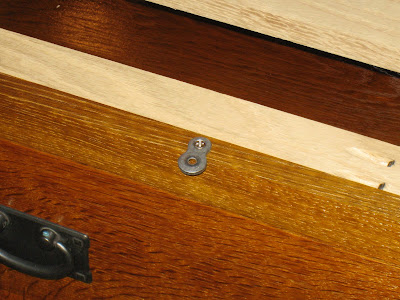
All that's left to do now is install the top, take some pictures, and watch a movie. I'm using figure 8 clips ton install the top. Predrill and install the clips on the cabinet side, position the piece where it needs to be on the top, mark the location, and drill into the top with a forstner bit. Then predrill and install to the top. the clips will show, but only if you are looking directly under it.


